With its lightning-fast connectivity and remarkable performance, the Moto G200 5G is a monster among smartphones. However, rooting the gadget might lead to a world of opportunities for individuals looking to realize its full potential.
Through rooting, users can access the most advanced features of the Android operating system, enabling customization, optimization, and the installation of robust programs that would not be possible without them.
With the help of this instruction, you will be able to root your Moto G200 5G and get unprecedented control over your device.
How to Root Moto G200 5G?
Motorola phones usually have a near-stock Android UI, which makes the root process quite easier for first-time tinkers and pro-rooting veterans. Here, you will get the complete guide to root your Motorola phone using custom recovery and magisk.
But before you dive into the step-by-step guide, it’s recommended to finish the subsequent requirements to avoid any trouble for the upcoming process!
Things Need to Remember
Here are the primary prerequisites that every reader needs to follow. If you go through the given steps, you will smoothly attain root permission for your Motorola device.
- The first thing you need to do is backup your Android phone.
- Next, the users need to acquire bootloader settings.
- Download and flash the appropriate version of the TWRP.
- Precisely flash the Magisk file on your smartphone.
Warning: Rooting OS recommends readers follow each instruction carefully. A rooted device can cause serious problems like bootloop and brick the device entirely. Thus, it’s suggested to follow the guide at your own risk.
Step 1: Enable Developer Settings
The initial process to attain the root access would involve developer permission. Usually, this system’s settings are hidden, and it can unlock using a simple trick, which is shown in the subsequent part. So, let’s have a look at that procedure.
- First and foremost, launch the Settings App.
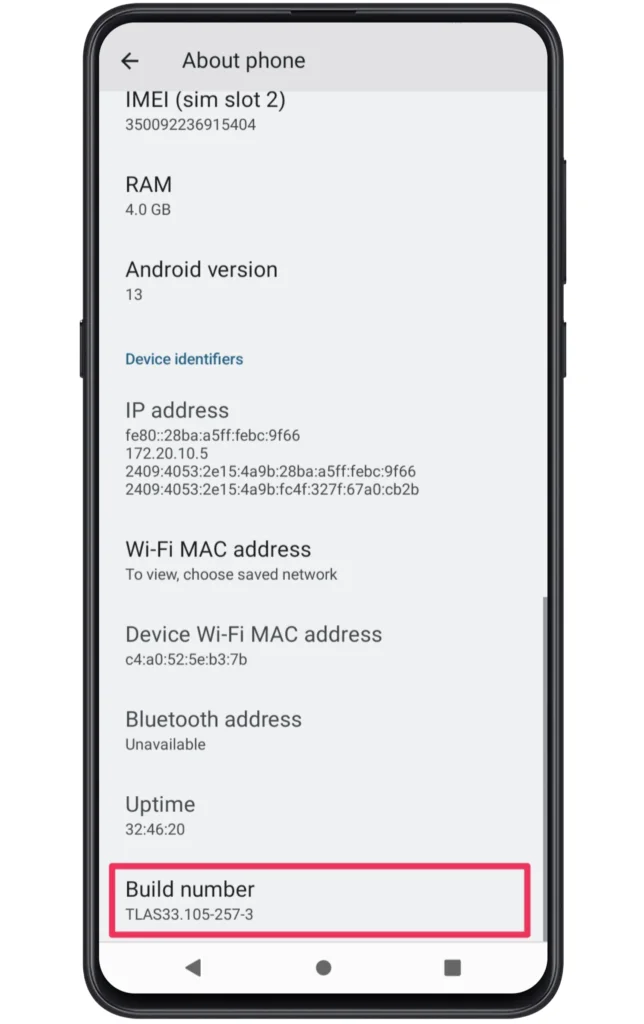
- Now, navigate to the “About Phone” option.

- Following this, click on the Build Number more than 7 times.
- Afterward, go to the System section >> Developer Options.
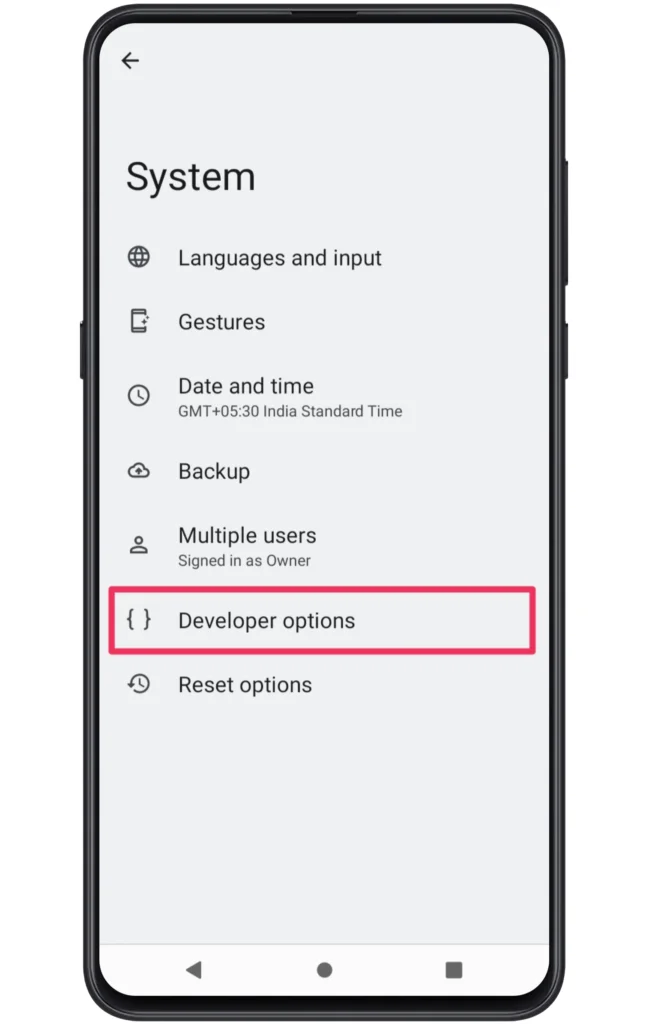
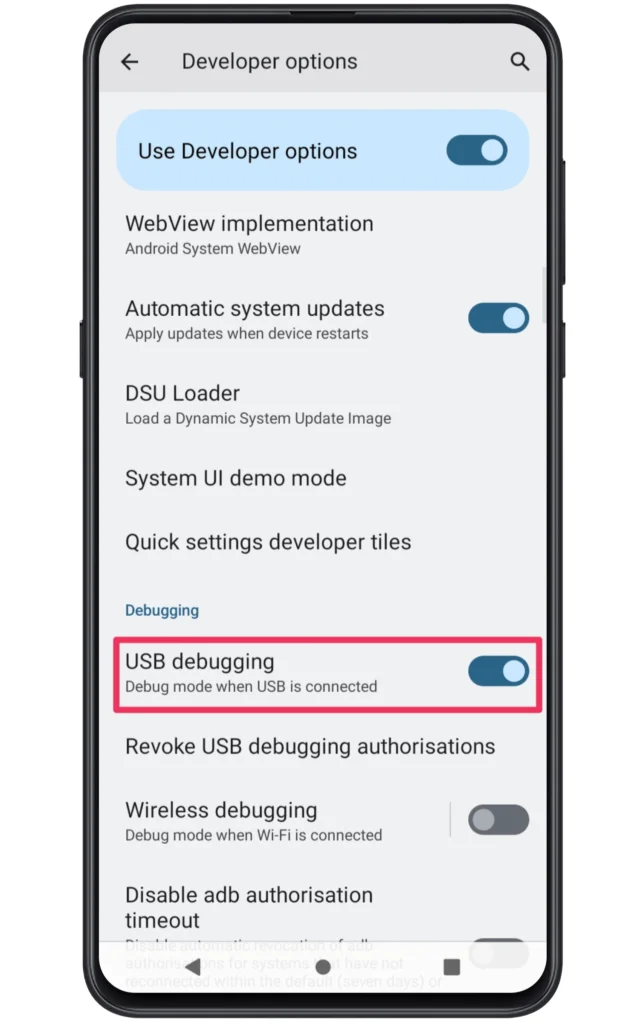
- Enable the OEM Unlocking and USB Debugging.
Through this, we completed the first step. Now, let’s head toward the next part where we covered the simple guide to gaining bootloader access.
Step 2: Unlock the Phone’s Bootloader
For every rooting process, it’s crucial to access the bootloader settings. Without this, it’s not possible to flash custom software like TWRP recovery using the fastboot commands. Nor does you can attain system kernel permission.
However, it’s a good thing that you can apply simple fastboot commands and unlock the bootloader. For more info, we recommend you check out our guide on how to unlock bootloader on any Android phone.
Note: Usually, the unlocking process of the bootloader causes a complete erase of your phone data, and everything is set as default settings. So, you need to make sure to take a backup before you initiate this procedure.
Step 3: Flash TWRP recovery
After you have completed the entire process to bootloader settings, the device is in the unlockable state. It would be great if you download the correct version of TWRP recovery for your smartphone. Multiple platforms provide authentic zip files on the internet.
The best choice to get TWRP custom recovery would be the official site. With this, you can dodge various problem that occurs during the rooting procedure. After downloading this file, use fastboot commands and the platform tools to gain access to the custom recovery.
We write a step-by-step guide on how to install TWRP recovery on any Android phone, thus don’t waste time and start the installation process ASAP.
Step 4: Flash Magisk Zip file
In this part, it’s important to already flash the TWRP recovery on your Motorola phone. Once done, the next step will involve flashing the Magisk zip on your device.
It brings systemless root privileges so that you can effortlessly adjust the software UI and enhance performance as per your needs. From the following part, you will grasp the entire instructions for magisk installation. So, without any further ado, let’s check the steps.
- We assume that you have already downloaded the Magisk zip.
- Now, boot your smartphone into the TWRP custom recovery mode.
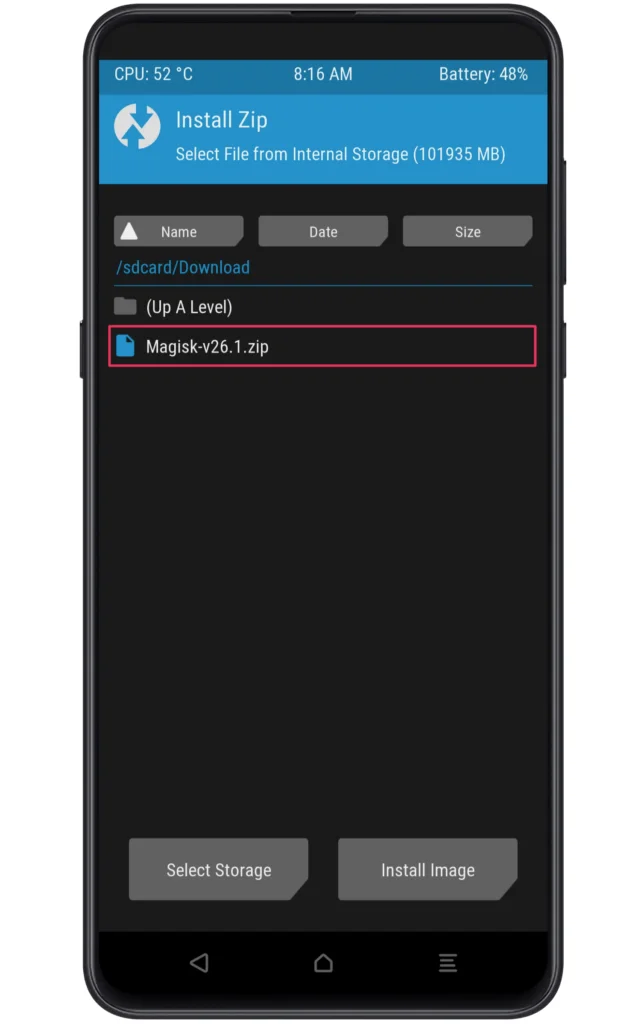
- On the home screen, you need to click on the “Install” button.
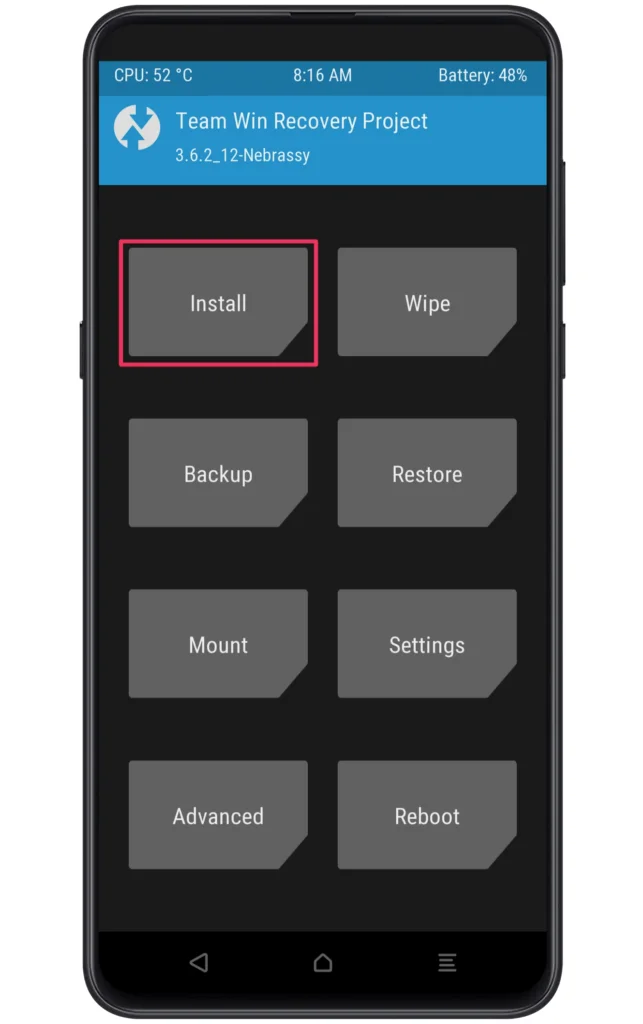
- Look for the Magisk zip location and select the file.
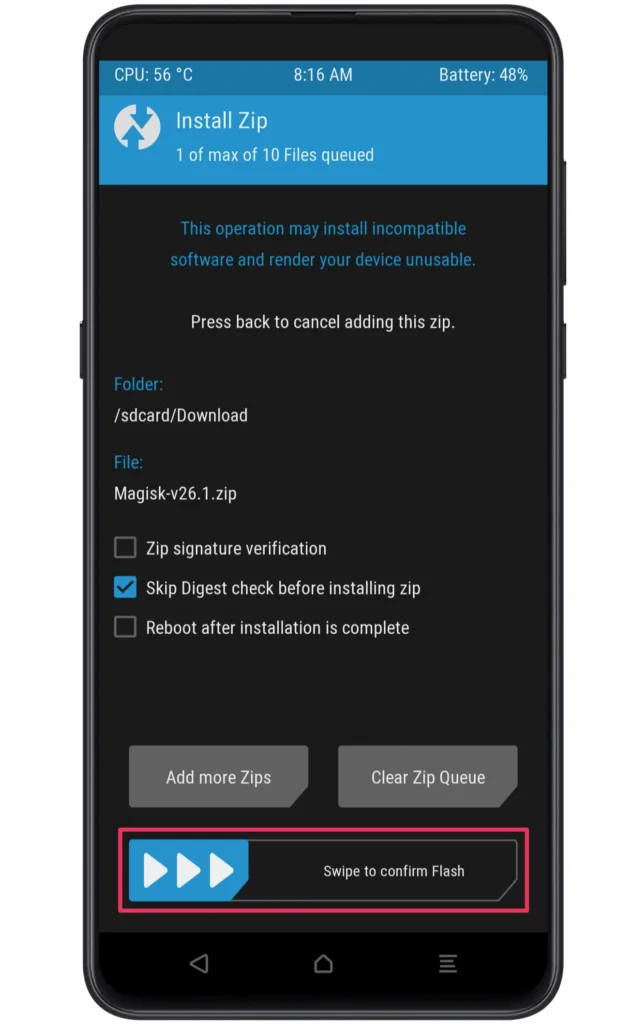
- Then, swipe right to initiate the flashing procedure.
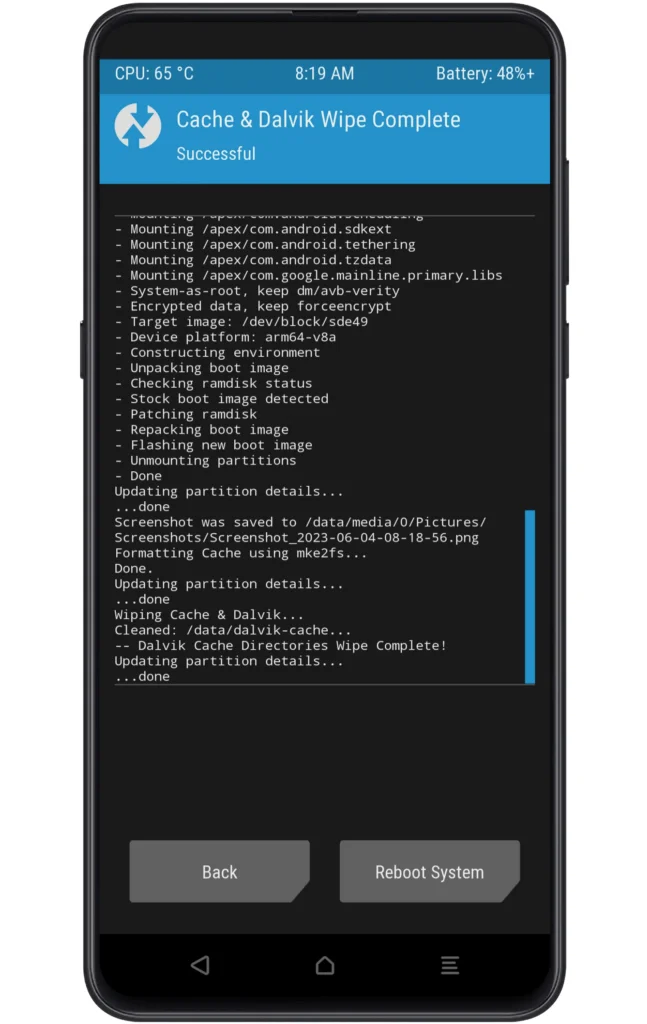
- Once the flashing process is completed, reboot your phone.
From here onwards, the readers need to install the Magisk app on their phone and check whether the magisk is installed in the system or not. If you have followed the above steps accurately, you will successfully gain root privileges.
How to Uninstall Magisk Root?
In this portion, we covered the instructions for removing root access from Mototola phones. If you have used the above rooting procedure to unlock those system settings, follow the given steps to unroot your device without any worries.
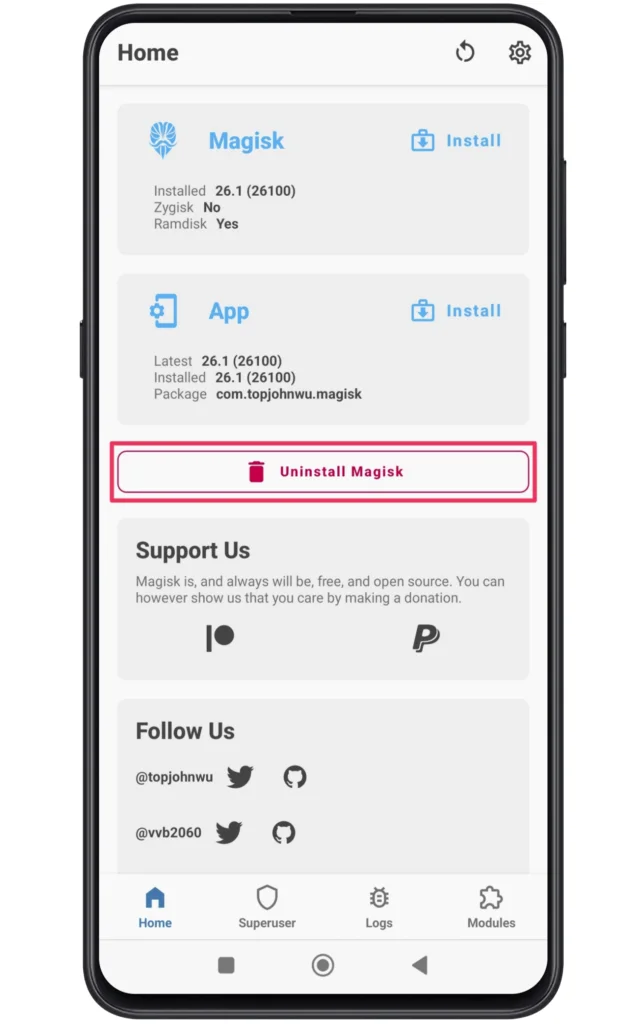
- First, launch the Magisk App on your phone.
- Following this, you need to click on the Uninstall Magisk button.
- A popup screen will appear in which choose “Complete Uninstall’.

- With this, the root access will be removed from your phone.
Note: The process of unrooting the device after rooting with KingRoot is quite complicated, you might even bricking your smartphone. In that situation, grasp the risk before using the above guide.
Bonus Method: Root Moto G200 5G Using KingRoot
There are multiple rooting methods that you can utilize to unlock the impressive attributes of the system kernel. Apart from flashing the magisk zip, the users can use the SuperSU zip to attain those rooting privileges.
But at the same time, if you are looking for a simple way to gain those superpowers without using a computer/laptop, then follow the given steps.
As a thumb rule, we would recommend you to at least unlock the bootloader before starting this process. On the other hand, the success rate of the method is comparatively lower. Still, it’s a good option if you use the KingRoot tool in a controlled environment.
- First, you must download and install KingRoot APK on your phone.
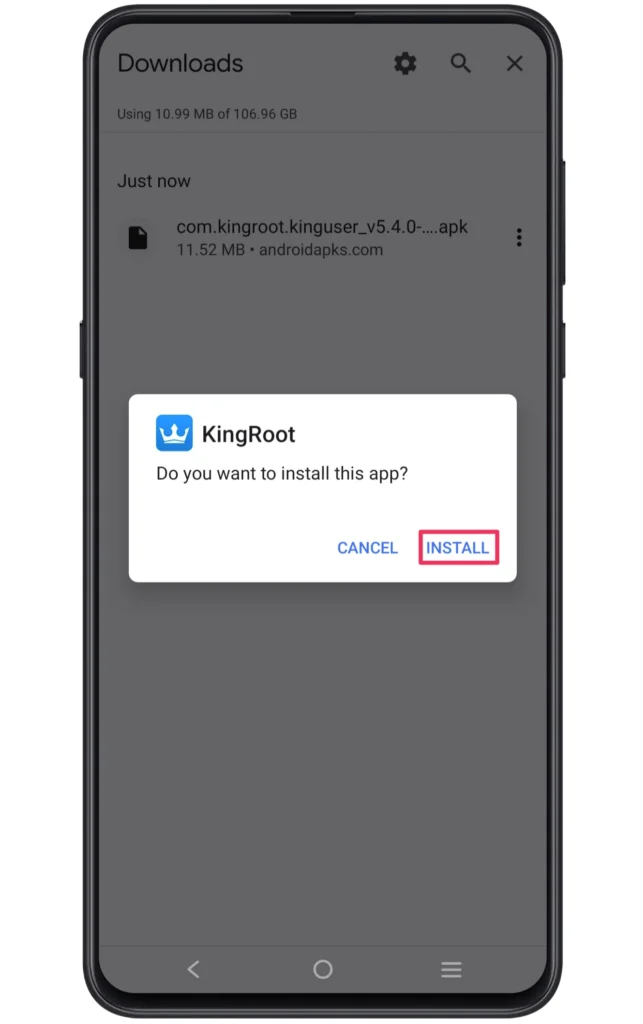
- Enable unknown source settings if you are downloading a third-party app.
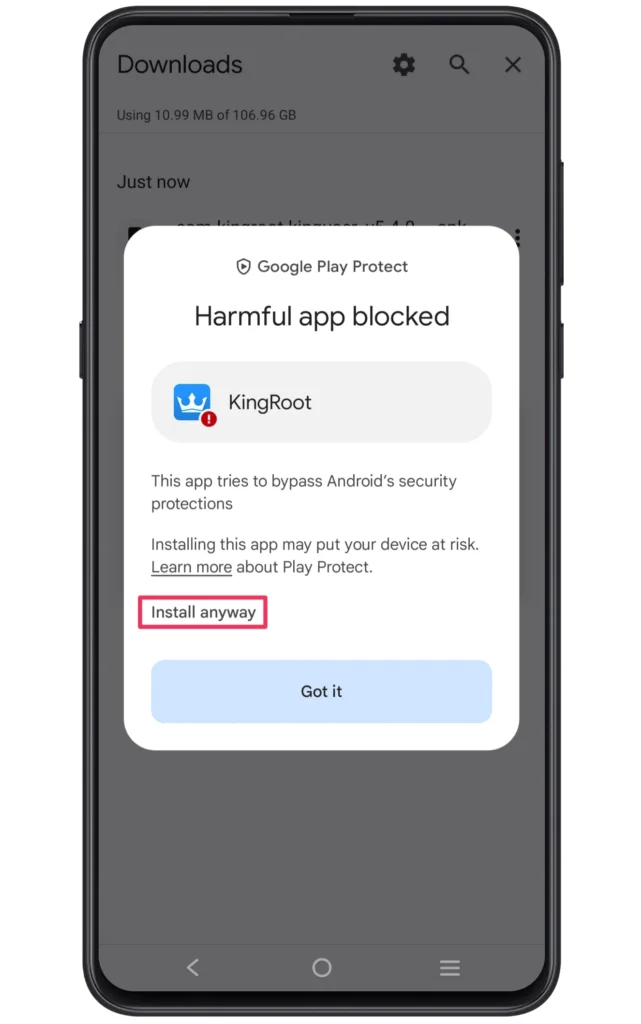
- Tap on “Install Anyway” if you see a Harmful app blocked.
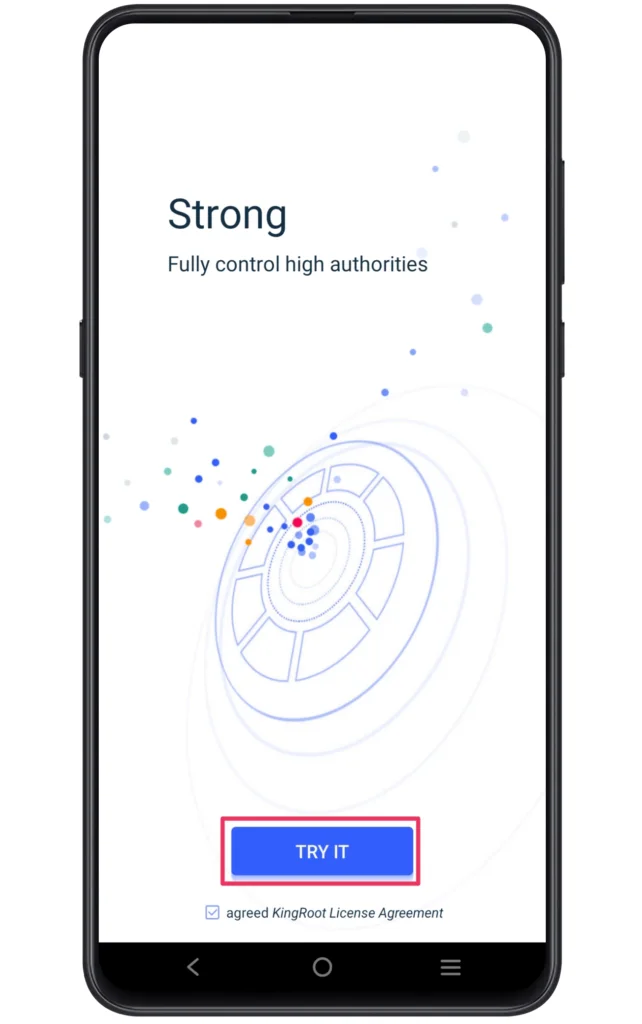
- Launch the KingRoot APK and Click the “TRY IT” button.
- Multiple booting processes take place in a few minutes, so don’t panic.
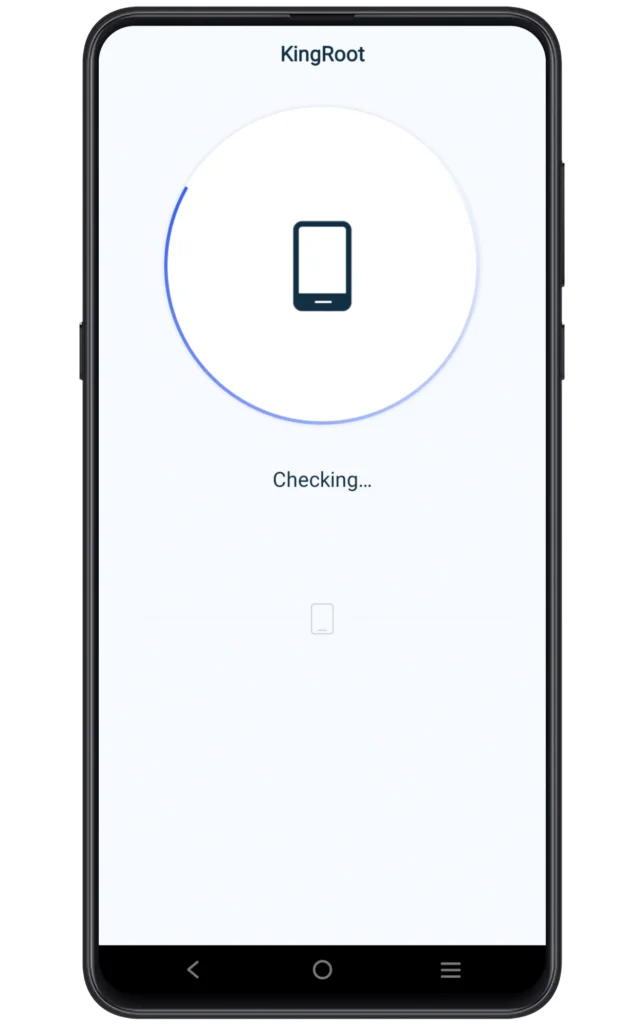
- Once the process ends, you will effortlessly obtain root access.
Confirm Root Moto G200 5G
The users can also confirm the root permission of their phones by downloading the Root Checker app from the Play Store. Here is the process to check those rooting benefits.
- Download and Install the Root Checker App.
- Launch the APK and Agree to the Disclaimer.
- If you notice a Green tick on the home screen, it verifies the root access.
Related Posts
Best wishes! After successfully rooting your Moto G200 5G, you may now utilize all of its features and have unmatched control over your gadget. From this point on, the options are infinite. Rooting your device unlocks a world of options, whether your goal is to improve its performance, install robust root-only apps, or customize its design.
Just keep in mind to act cautiously, routinely backup your data, and do your homework before making any software modifications to your device. Great power comes with great responsibility, yet you can do anything you want with the Moto G200 5G rooted.